24x7 Scheduler Java Edition - Configuring database connections
In order to connect to your databases and schedule database jobs you must define database profiles first. Database profile is a named collection of properties describing database connection interface and parameters.
For connections you can use either the built-in ODBC interface or define new JDBC database interfaces and direct database connection. To use the ODBC interface you first need to configure an ODBC connection outside the 24x7 Scheduler. Please see your operation system documentation for details on how to add or configure an ODBC connection. Once you have an ODBC profile configured you can add a new database profile to 24x7 which will use the configured ODBC connection.
To add an ODBC connection
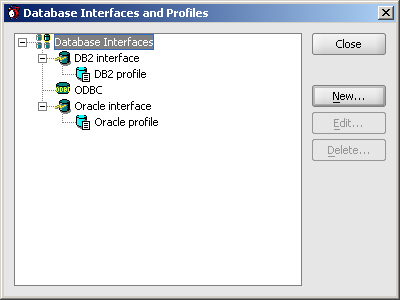
Click Tools/Database Profiles and Interfaces menu. Select ODBC Interface item in the Interfaces and Profiles tree and then click New Profile button. The Database Profile dialog will appear. Enter the following fields.
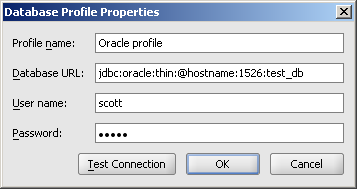
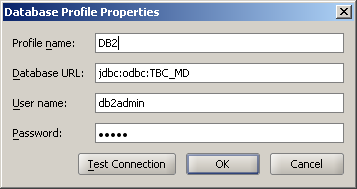
The Database Profile dialog
- Profile name - text name of this profile, for example, My production database
- Database URL - specialy formatted JDBC url for your ODBC connection, for example, jdbc:odbc:prod_db, note that prod_db here is your ODBC connection name, not your database name
- User name - database username for this connection, for example, scott
- Password - database password for this connection, for example, tiger
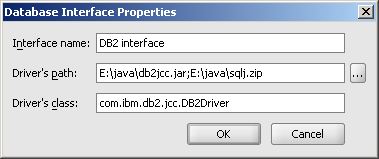
To add a new interface and direct database connection
First, you need to define a new database interface When you are done defining the new Interface you can use it to setup new database connections. If you need more profiles (for example, define multiple connections
using different user accounts or different target servers) repeat step 2. If you need
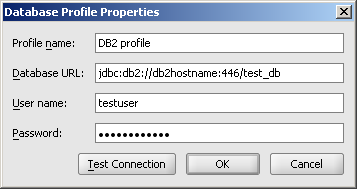
other interfaces, for instance, Oracle 10, Sybase or DB2, repeat both steps. Below are sample screenhots for Oracle and DB2 interfaces and profiles Below is a sample screenshot for ODBC connection profile
/home/ORACLE_HOME/product/9.0.1/jdbc/lib/classes12.zip:/home/ORACLE_HOME/product/9.0.1/jdbc/lib/nls_charset12.zip
on Windows this could be
C:\ORACLE_HOME\product\9.0.1\jdbc\lib\classes12.zip;C:\ORACLE_HOME\product\9.0.1\jdbc\lib\nls_charset12.zip